dining room

Limestone Tiled Kitchen Floor Before and After Polishing in Boxworth

Polishing Dull Limestone Floor Tiles to a High Shine in Boxworth

Boxworth is a very small village situated to the north-west of Cambridge. In the Middle Ages, it had a significant population, but in the modern day there are only around 100 houses in the area including one belonging to my customer.

I was there to take a look at a large installation of Polished Limestone floor tiles which had been laid throughout the ground floor including the Kitchen, Dining, Utility room and hallway.

Limestone Tiled Kitchen Before Polishing Boxworth Limestone Tiled Dining Room Before Polishing Boxworth

Many people will already know that Limestone is a premium, yet somewhat sensitive natural stone. It’s also porous, meaning that dirt can easily become ingrained if the tiles are not sealed properly, or if the sealant has worn away. This leads eventually to a very unappealing, dirty, and dull appearance which often happens so slowly it hardly get’s noticed until one day you think, “I’m sure my floor looked better than that before!”.

Limestone Tiled Hallway Before Polishing Boxworth Limestone Tiled Utility Before Polishing Boxworth

In this case the sealer had degraded over time and my customer had called me in because she was now no longer happy with the appearance of the tiles. The lustre the tiles once had eventually disappeared and there was also damage in some areas caused by the placement of table and chair legs. I was asked to restore a high-quality polished finish to the tiles.

Cleaning and Burnishing Limestone Tiles

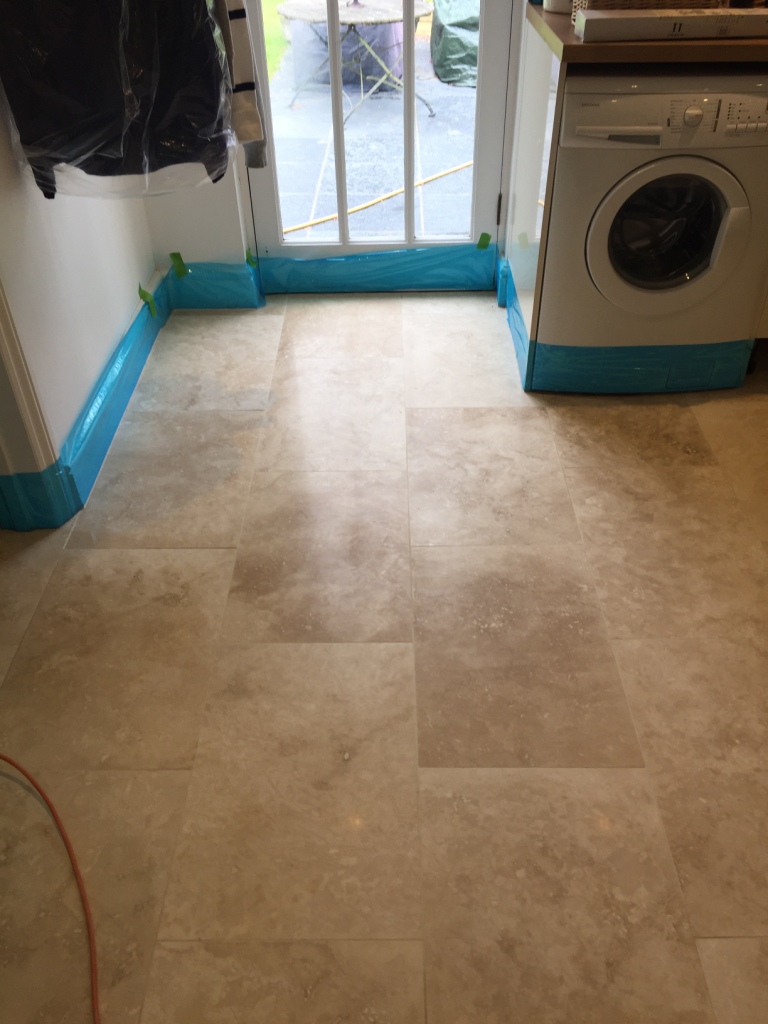
Before beginning the restoration, I took the necessary precaution of covering the walls and kitchen units to protect them from exposure to any cleaning products or mess.

To begin, I applied Tile Doctor Remove and Go, which is a high-performance stripping agent, to break down any old sealant remaining of the tiles. This product can also be used to clean the stone itself, as well as the grout lines.

After completing the initial cleaning process, I moved on to restoring the polish to the tiles. At Tile Doctor, we do this using a system we have developed called Burnishing. This system involves the application of Diamond encrusted pads – each possessing a different level of grit – to grind away the dirt from the stone, which is often stained or damaged. The process effectively resurfaces the stone leaving it looking new and fresh.

Firstly, I applied the Coarse 400 grit pad, fitted to a rotary machine, to grind away any excess muck and sealant lubricated with a little water. The resultant slurry was rinsed away and I followed up with the application of the Medium 800 grit pad to start the restoration of the polish again with a small amount of water, followed by the Fine 1500 grit pad for the second polish.

Finally, I applied the Very Fine 3000 grit pad to achieve the most refined and highest quality polish possible. The process of burnishing is a gradual but highly effective means of achieving this kind of finish.

Any slurry that was created through this process was removed using my truck-mounted hot water cleaning and extraction machine, resulting in minimum mess.

Sealing Limestone Tiles

After burnishing the tiles and to achieve a really hard wearing and high polish I covered the floor in Tile Doctor Shine Powder crystals and buffed them into the Limestone tiles using a White buffing pad. Then to give the floor extra protection I applied a coat of Tile Doctor Colour Grow, which impregnates the pores of the stone to prevent ingrained dirt.

Colour Grow also intensifies the natural colours in the Limestone, thus improving the appearance of the stone to an even greater extent. Following the application of Colour Grow, I gave the tiles a final light buffing with a soft red pad.

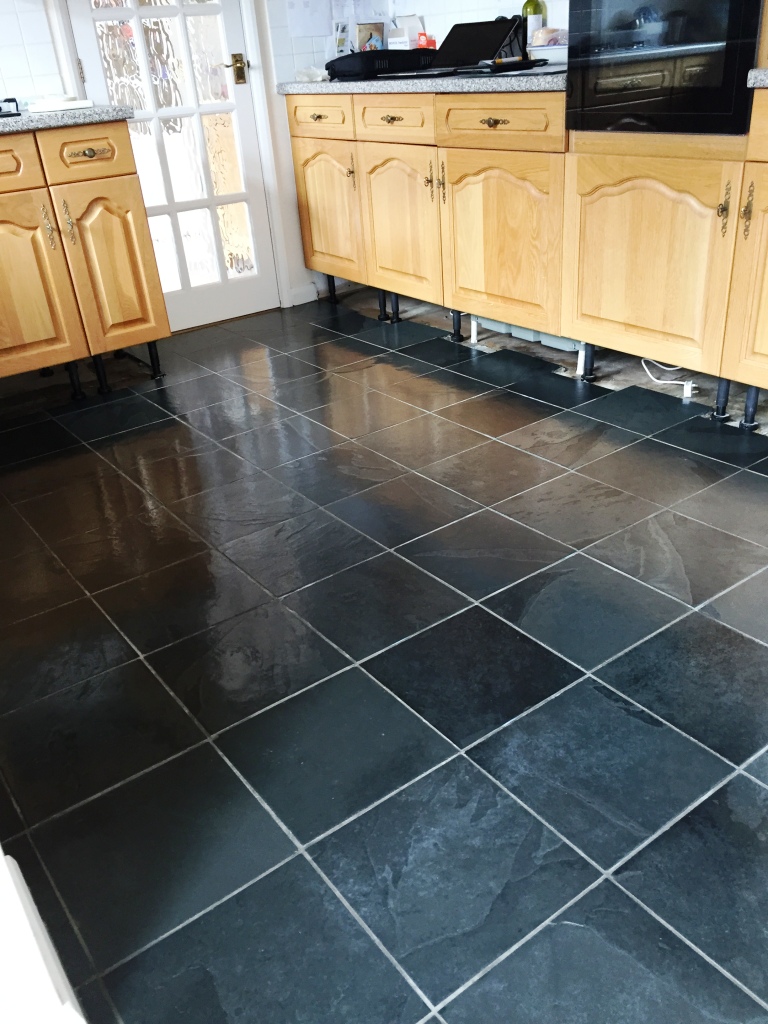
Limestone Tiled Kitchen After Polishing Boxworth Limestone Tiled Utility After Polishing Boxworth

The customer was extremely happy with the outcome, remarking that the work was carried “quickly and efficiently with no fuss.” I took lots of photographs of the process, so you can really appreciate the difference that was made.

Limestone Tiled Hallway After Polishing Boxworth Limestone Tiled Dining Room After Polishing Boxworth


Professional Polishing of a Dull Limestone Tiled Floor in Cambridgeshire

Polishing Dull Limestone Floor Tiles to a High Shine in Boxworth Read More »

Lustre Restored to Large Area of Travertine Tiles in Cambridge

Lustre Restored to Large Area of Travertine Tiles in Cambridge

Travertine is a type of Limestone which exists in several variations, including white, tan, and cream-colored. It has distinct colourings and patterns that no other stone can offer and as such it is a very popular choice for tiled floors amongst home owners.

However, Travertine tiles are not the easiest to keep looking at their best. A high-quality polished finish can be difficult to maintain, especially as sealers wear away and all manner of dirt becomes ingrained in the pores of the stone.

The pictures below were taken at a house in Cambridge where the owner had this exact same problem and requested my help to get them looking their best again. The Travertine tiles had been installed across most of the entire ground floor of the house, including the kitchen, dining room, living room, office and utility room.

The owner was not happy with the current appearance of the floor because the shine and reflectivity that had once existed had gradually worn away. The floor was also littered with many pitted holes (caused by natural erosion) and a few cracks which would need to be filled.

Travertine Kitchen Floor Before Cleaning Cambridge Travertine Kitchen Floor Before Cleaning Cambridge

Cleaning and Burnishing Travertine Tiles

My first step in restoring the tiles was to remove the kick boards from around the kitchen and utility room, before masking up all walls and wooden units with protective décor film. This was done to prevent these areas from encountering any cleaning product.

Travertine Kitchen Floor Before Cleaning Cambridge
Next, I began the cleaning process by applying Tile Doctor Pro Clean across the entire area and worked it into the stone using a scrubbing brush fitted to my rotary machine. This high alkaline cleaner broke down any old sealer while also relieving the stone and grout lines of any ingrained dirt.

After the initial clean, I used the Tile Doctor system of four diamond encrusted burnishing pads on the tiles. Burnishing is a form of polishing that involves gradually honing the surface of the stone, first by applying a Coarse grit pad, followed by a Medium, Fine, and finally a Very Fine grit pad to achieve a high quality polished finish. The system uses a little water for lubrication and the floor is rinsed between each pad to remove the soil so it can take some time to complete especially on a floor this size.

Once I was done I filled in the pitted holes and cracks with an appropriate resin filler before applying the Very Fine pad.

Travertine Floor Tile After Crack Repair Cambridge

Sealing Travertine Tiles

To finish the restoration, the tiles needed to be sealed. I did this firstly by applying Tile Doctor Shine Powder, which is natural sealer in a crystallising powder form. I applied it using a white pad and polished the tiles to provide the very high shine and tough durable finish the client had requested.

Following this I applied one coat of Tile Doctor Ultra Seal, which is an impregnating sealer, to add further protection. To add the finishing touches, I quick buffed the floor with Tile Doctor Stone Patina Spray, a cleaner that is designed to enhance the natural beauty and lustre of polished stone as it cleans. Regular use of this product helps to maintain the polished effect.

Travertine Kitchen Floor After Cleaning Cambridge Travertine Kitchen Floor After Cleaning Cambridge

The customer absolutely loved her new floor. She even remarked that it looked as good as new and better than ever before.

Professional Tile Burnishing, Cleaning and Sealing for a Dirty Travertine Tiled Floor Restoration in Cambridge

Lustre Restored to Large Area of Travertine Tiles in Cambridge Read More »

Dirty and Stained Slate Tiles Refreshed Near Duxford

Dirty and Stained Slate Tiles Refreshed Near Duxford

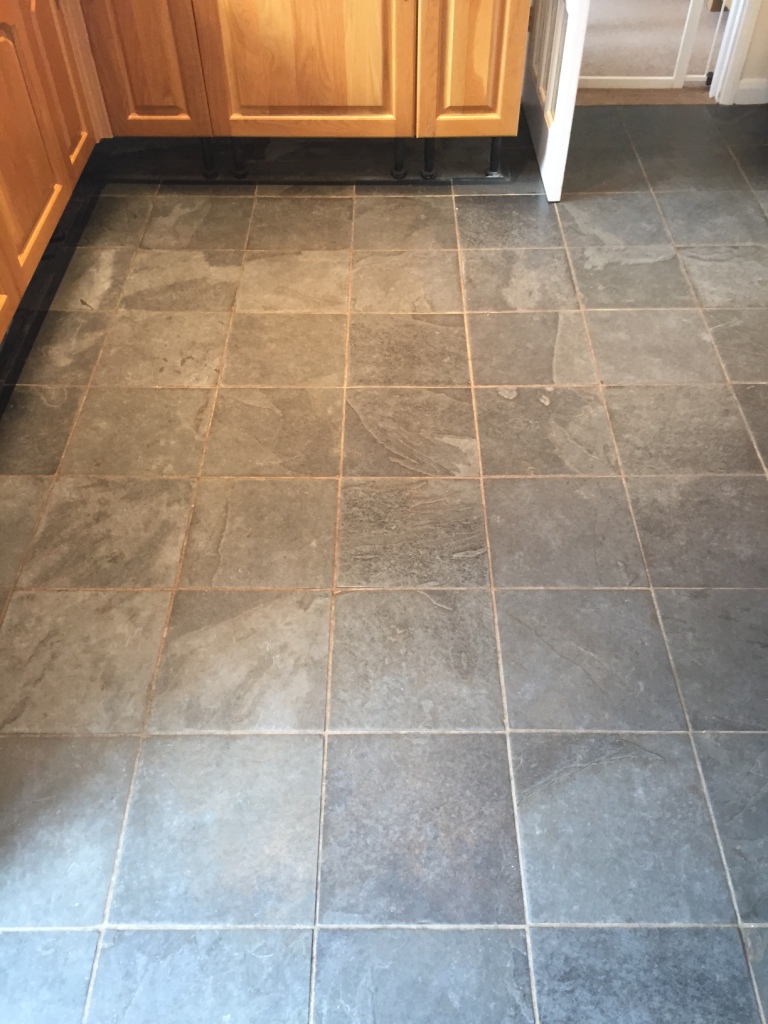
This wonderful Slate tiled floor at a property near the old village of Duxford had been installed throughout the ground floor kitchen, utility room, dining room, and downstairs toilet, making it a very large area. As such, the property owner had struggled to keep the tile and grout looking it’s best and had tried many off the shelf supermarket-quality products without much success and you can see from the photographs the slate was now looking tired and the grout was quite stained and so we were called in to work our magic

Slate Floor Duxford Before Cleaning
While Slate is typically known for its durability, any kind of porous stone will over time become dirty and stained if the sealer is not maintained, sealers do fail eventually and usually in the highest traffic areas first where they become worn down the most.

Slate Floor Duxford Before Cleaning

Cleaning Dirty Slate Tile

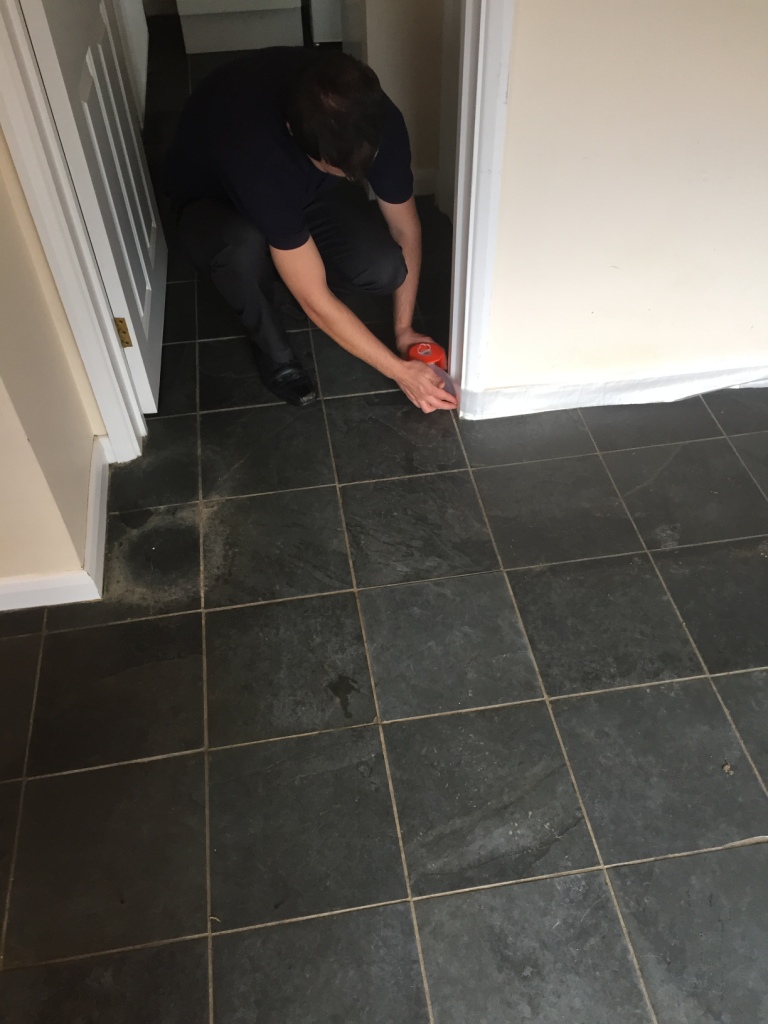
Before starting the cleaning process, we protected the walls and skirting boards from coming into contact with products by covering them with plastic. I also opted to remove the kickboards from around the edges of the kitchen units, kickboards are usually just clipped into place and are easily put back later.

Slate Floor Duxford Before Cleaning Adding Protection
I then applied Tile Doctor Remove and Go to the floor, which is a multi-purpose stripper/cleaner designed to strip away old sealers and remove grout haze, adhesives and paints. It also draws out ingrained stains. The entire floor was blanketed in a thin plastic sheet to give the chemical time to emulsify the old sealers without drying out.

Slate Floor Duxford With Plastic Blanket
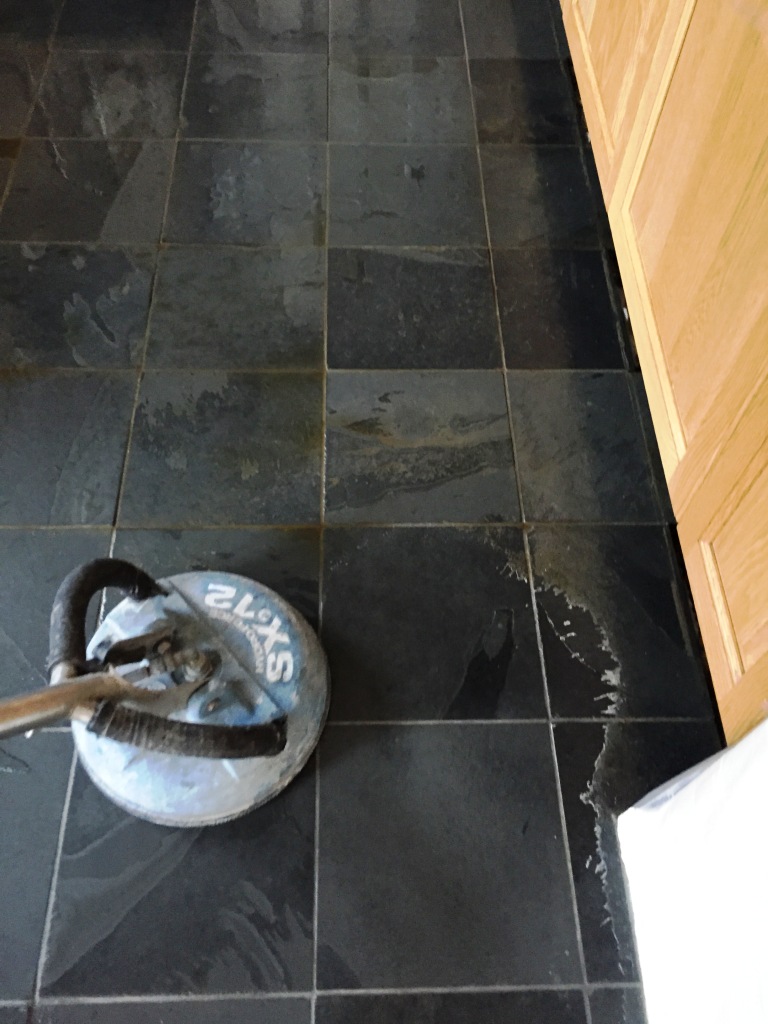
Next, I used our high-pressure extraction system to remove all the emulsified sealers. The system works by applying hot water under high pressure to the floor deep cleaning the tile, whilst simultaneously extracting the dirty water back to a tank on our van. This process did a great job of getting the floor clean and free of old sealers etc., and after completing the initial clean a thorough walk through of the floor was done to identify any stubborn areas that needed further treatment.

Slate Floor Duxford During Pressure Cleaning
Finally, the floor was left to dry overnight.

Sealing Slate Tiles

Upon arriving back at the property, the next day, I ran some quick damp tests to check that the floor was completely dry and ready to be sealed. Once satisfied, I applied several coats of Tile Doctor Seal and Go, which works really well on Slate giving it that much needed protection against dirt and stains, along with a full lustre finish that enhances the character of the floor, it was a large area and you have to wait for the first coat to dry before applying the next so it took some time to complete as I’m sure you can imagine.

Slate Floor Duxford After Cleaning and Sealing
You should be able to see the floor was quite transformed after our visit and needless to say the customer was very happy with the result.

Slate Floor Duxford After Cleaning and Sealing
 

Refurbishing a tired Slate Tiled Floor in Cambridgeshire

Dirty and Stained Slate Tiles Refreshed Near Duxford Read More »

Scroll to Top