Honing Limestone Flooring Before House Sale in Fordham Village
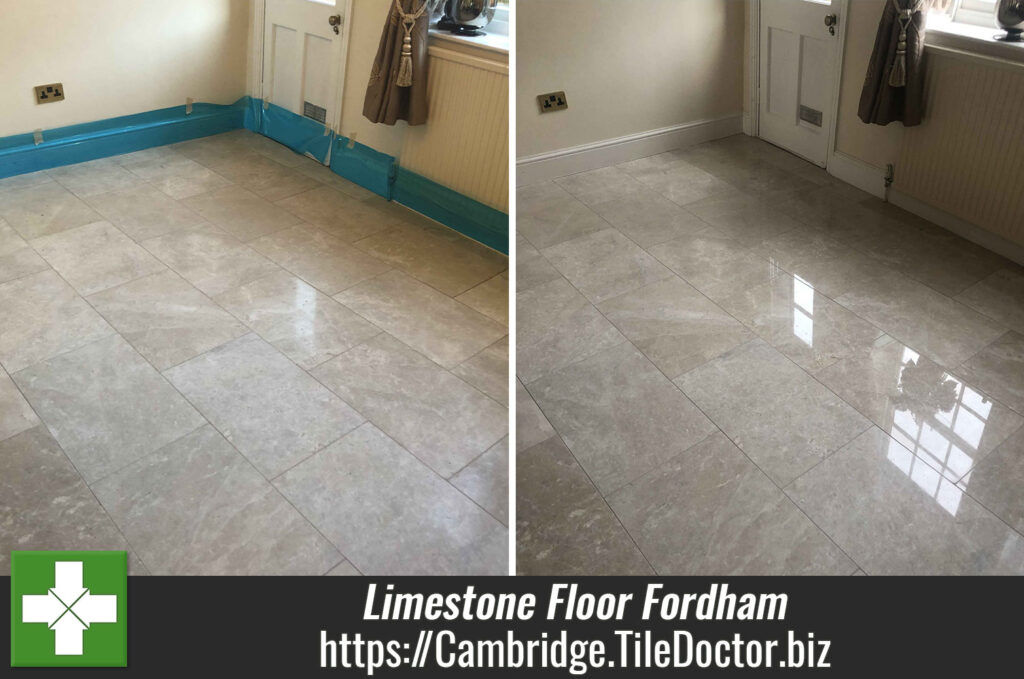
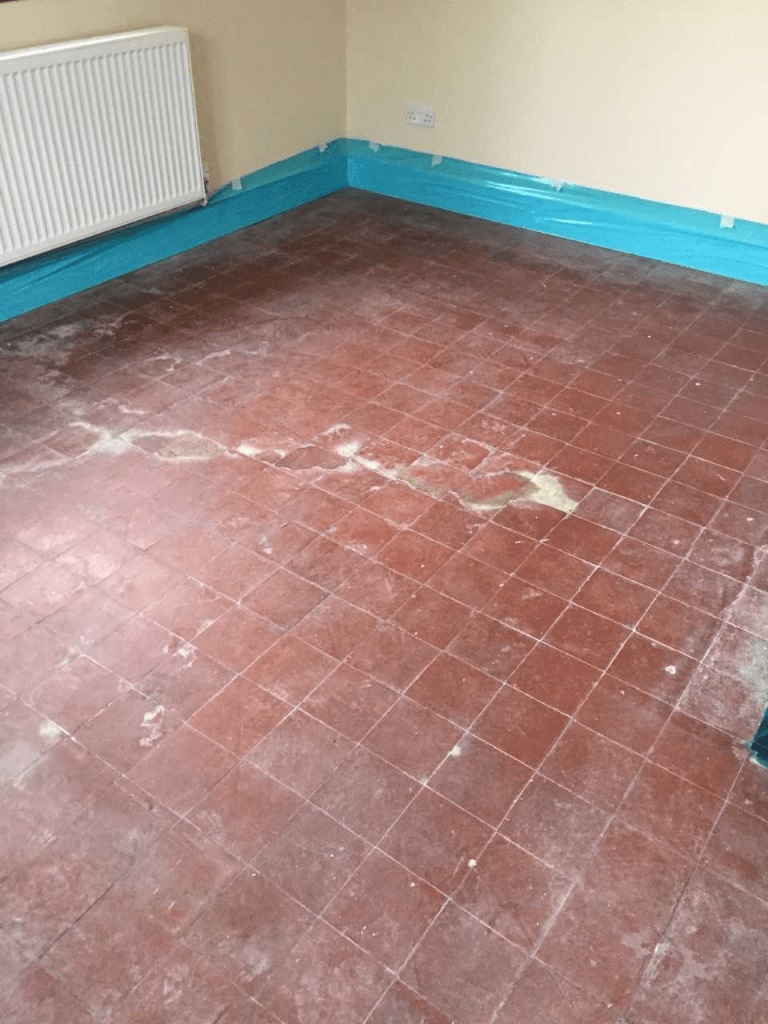
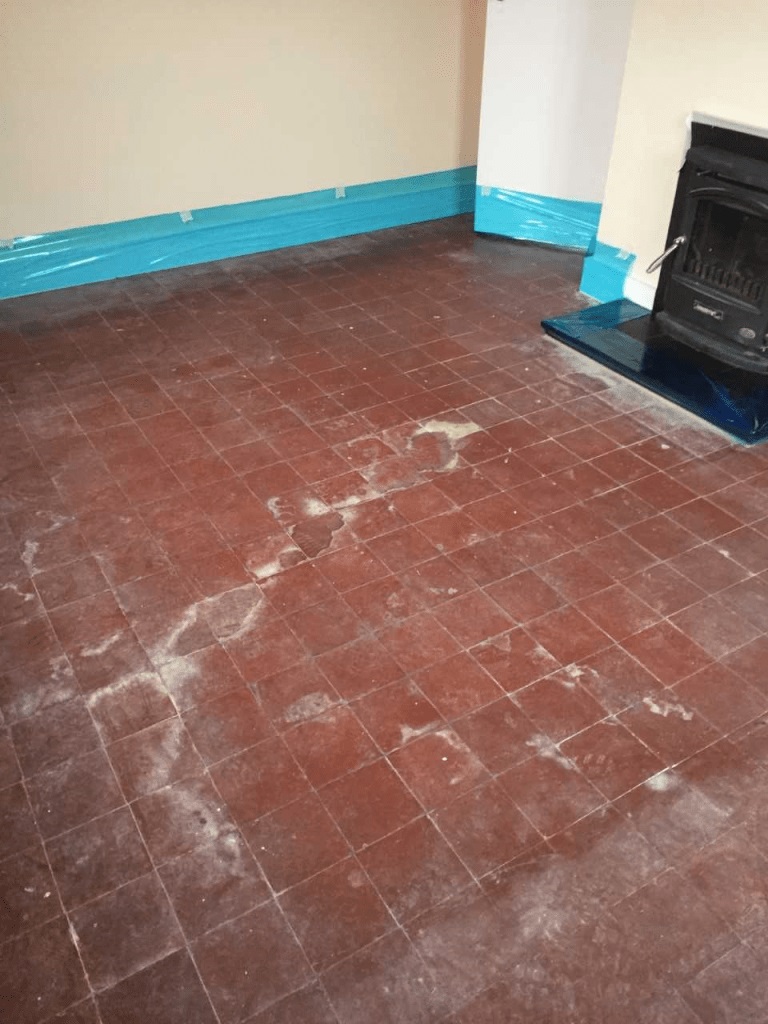
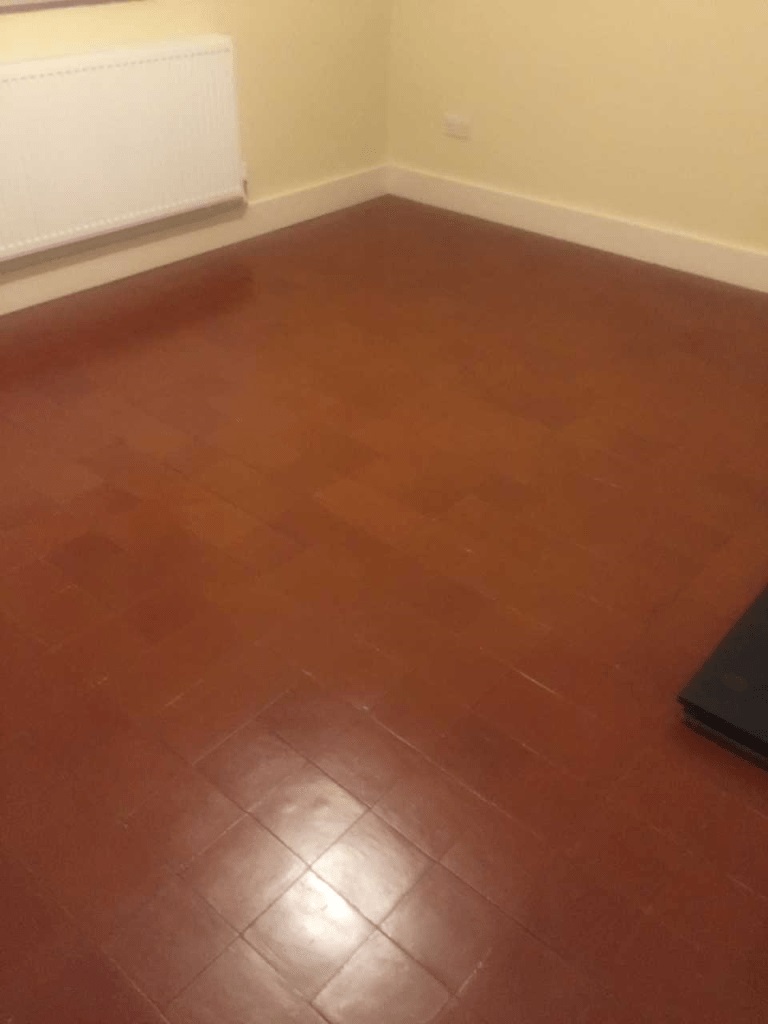
A client from Fordham on the outskirts of Cambridge called us in to renovate their polished Limestone flooring that ran throughout the ground floor. Years of general wear had made the stone lose it lustre and the client wanted it looking its best as they were looking to sell the property.
 |
 |
Polished stone flooring does look incredible and gives any property a premium feel, however it does require regular maintenance if it’s to look its best. In fact, Tile Doctor offers a Maintenance Plan for floors like this one where we pop back once or twice a year to re-polish the stone with a high grit pad and top-up the sealer.
Without maintenance of this nature the polish will slowly wear down and eventually the sealer will fail allowing dirt to becoming ingrained in the stone and making it difficult to keep clean. The solution is to strip what’s left of the old sealer off the stone, bring up the polish using a set of diamond burnishing pads (Honing) and then re-seal and this is what I recommended for this Polished Limestone floor.
 |
 |
Cleaning and Honing a Polished Limestone Tiles
Before beginning the restoration, I took the usual precaution of covering the walls and kitchen units with thin blue plastic to protect them from exposure to any cleaning products or mess.
Working in the different areas one by one my first task was to give the Limestone a deep clean using a dilution of Tile Doctor Remove and Go, which is a coatings remover designed to break down any old sealant remaining on the tiles. This product is scrubbed in and then extracted, as well as removing the old sealer it also does a good job of cleaning the stone and grout. To extract the soils and clean the tiles afterwards I use a high-pressure hot water cleaning and extraction machine which is built into my van and keeps any mess to a minimum.
After completing the initial cleaning process, I moved on to honing the stone which slowly restores the polished appearance. This is done using a set of Diamond encrusted burnishing pads of different grits which slowly resurface the appearance of the Limestone tile removing scratches and other imperfections.
The process starts with the application of a coarse 400-grit pad, fitted to a rotary machine and is applied only with water to help lubricate the process. The resultant slurry is then rinsed away and the process repeated with a medium 800-grit pad again with water. At this point the polish on the stone starts to build and after another rinse and extraction is followed by a fine 1500-grit pad.
Finally, a very Fine 3000 grit pad is applied dry with only a little water sprayed onto the stone. The process of burnishing is a gradual but highly effective means of achieving this kind of finish.
Sealing Limestone Tiles
After burnishing the tiles and to achieve a really hard wearing and high polish I covered the floor in Tile Doctor Shine Powder crystals and buffed them into the Limestone tiles using a White buffing pad. Then to give the floor extra protection I applied a couple of coats of Tile Doctor Ultra-Seal, which soaks into the pores of the stone to prevent dirt from becoming ingrained there.
 |
 |
Ultra-Seal was chosen because it’s an invisible sealer which won’t affect the appearance of the Limestone resulting in a very natural appearance. You won’t realise its there until you spill something on the floor and then you will notice it pooling on the tiles to form a bubble that can be easily wiped off.
It took some time, but once completed the Limestone looked great with a really deep high shine that the light bounced off.
 |
 |
Professional Polishing of a Dull Limestone Tiled Floor in Cambridgeshire
Honing Limestone Flooring Before House Sale in Fordham Village Read More »


