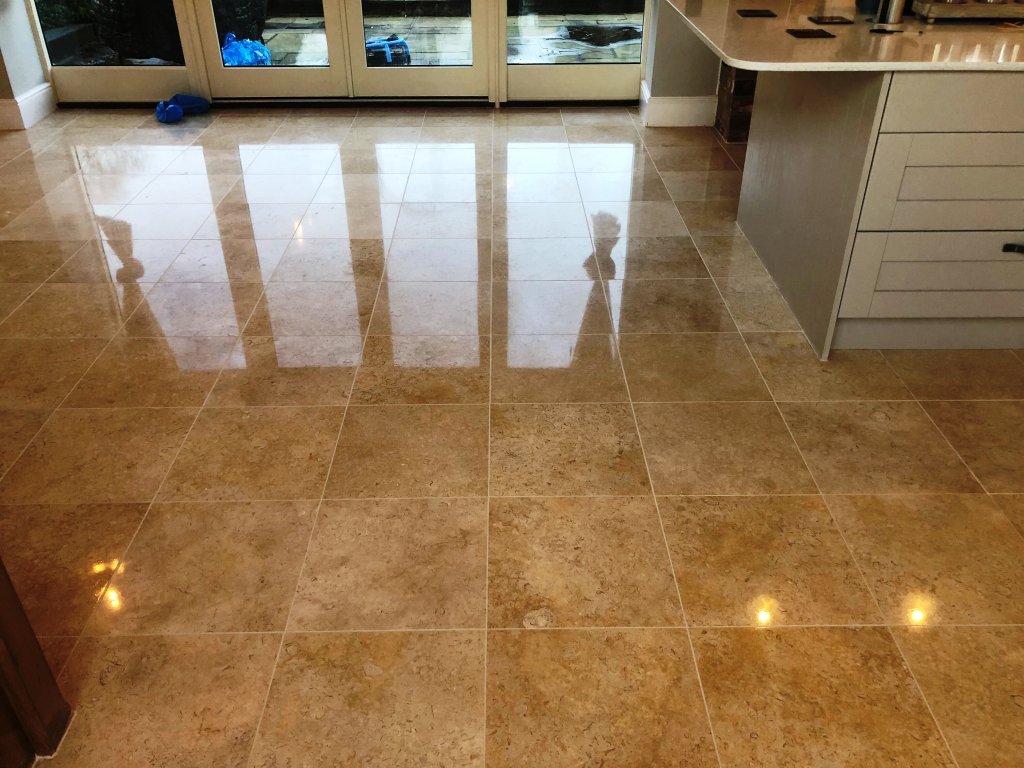
This customer from village of Great Shelford south of Cambridge was unhappy with their Marble tiled floor which lost its lustre relatively quickly after being laid. Fortunately, she was given our contact details from a neighbour who we completed a Marble re-polish for a couple years ago and the floor still looks amazing.

Polished Marble will loose its appearance over time, especially in a Kitchen due to abrasion it receives from foot traffic and the use of the wrong cleaning product. Because of this problem Tile Doctor now offer a
maintenance program where we make an annual visit to the property to re-polish the floor and top up the sealer.

After discussing the floor, I recommended we hone the Marble tiles with a set of burnishing pads which will bring back the polished appearance and then work in a crystallising powder to achieve a deep shine before applying a sealer to protect the stone going forward. This is the procedure we followed for her neighbour and she was happy to have the same.
Honing Marble Floor Tiles
Firstly, I removed the existing sealer and dirt with a 400-grit diamond burnishing pad which is applied with water to provide lubrication. Although this initially appears to make the floor look worse, this is only temporary and is the first step in restoring the appearance of the stone. Much to the amusement of a couple of Peacocks who appeared by the back door I rinsed the floor with water and removed the slurry from the floor with a wet vacuum.

Then I worked my way through the
800-grit and
1500-grit burnishing pads again using water to lubricate and rinsing the floor and extracting after each pad. These finer pads start the process or re-polishing the stone and took up most of the day. Once done I gave the floor a final rinse, extracted the slurry and left the floor to dry off overnight.

Sealing Marble Kitchen Tiles
The next day I returned and completed the polishing process by applying the fourth burnishing pad which is an extra fine 3000 grit pad, you apply the pad dry with only a little amount of water sprayed onto the floor in process we call a spay burnish and this final pad really brings up the polish in the Marble.
The next step was to apply Tile Doctor Shine Powder to the Marble. This is a crystallising powder that is worked into the floor using a White Buffing Pad to provide a very high shine and tough durable finish.

Once the polishing was completed, I set about applying the sealer which for this floor I chose
Tile Doctor Colour Grow. This is a colour intensifying sealer that provides durable stain protection by impregnating the pores in the stone with sealer so dirt cannot become ingrained there. As you can see from the pictures the sealer dramatically enhanced the natural colours in the stone leaving my client much happier.

Once dry I ran over the floor with the
white buffing pad to remove any excess sealer and bring up the sheen of the tiles even further. For aftercare cleaning I recommended the use of
Tile Doctor Stone Soap which is designed for the cleaning of polished sealed floor and will help maintain the patina.

Professional Restoration of a Marble Tiled Kitchen Floor in West Surrey


